¶ Getting Started with Marmin E-Invoicing for Shopify
Welcome to the Marmin E-Invoicing guide for Shopify merchants. This wiki will walk you through how to set up ZATCA-compliant e-invoicing for your business in Saudi Arabia. Marmin helps you easily comply with KSA's ZATCA e-invoicing requirements by automating the entire process.
¶ Step 1: Install Marmin from the Shopify App Store
- Log in to your Shopify admin dashboard.
- In the left-hand menu, go to Settings and then click on Apps and sales channels.
- Click on the Shopify App Store button.
- Search for "Marmin" in the app store.
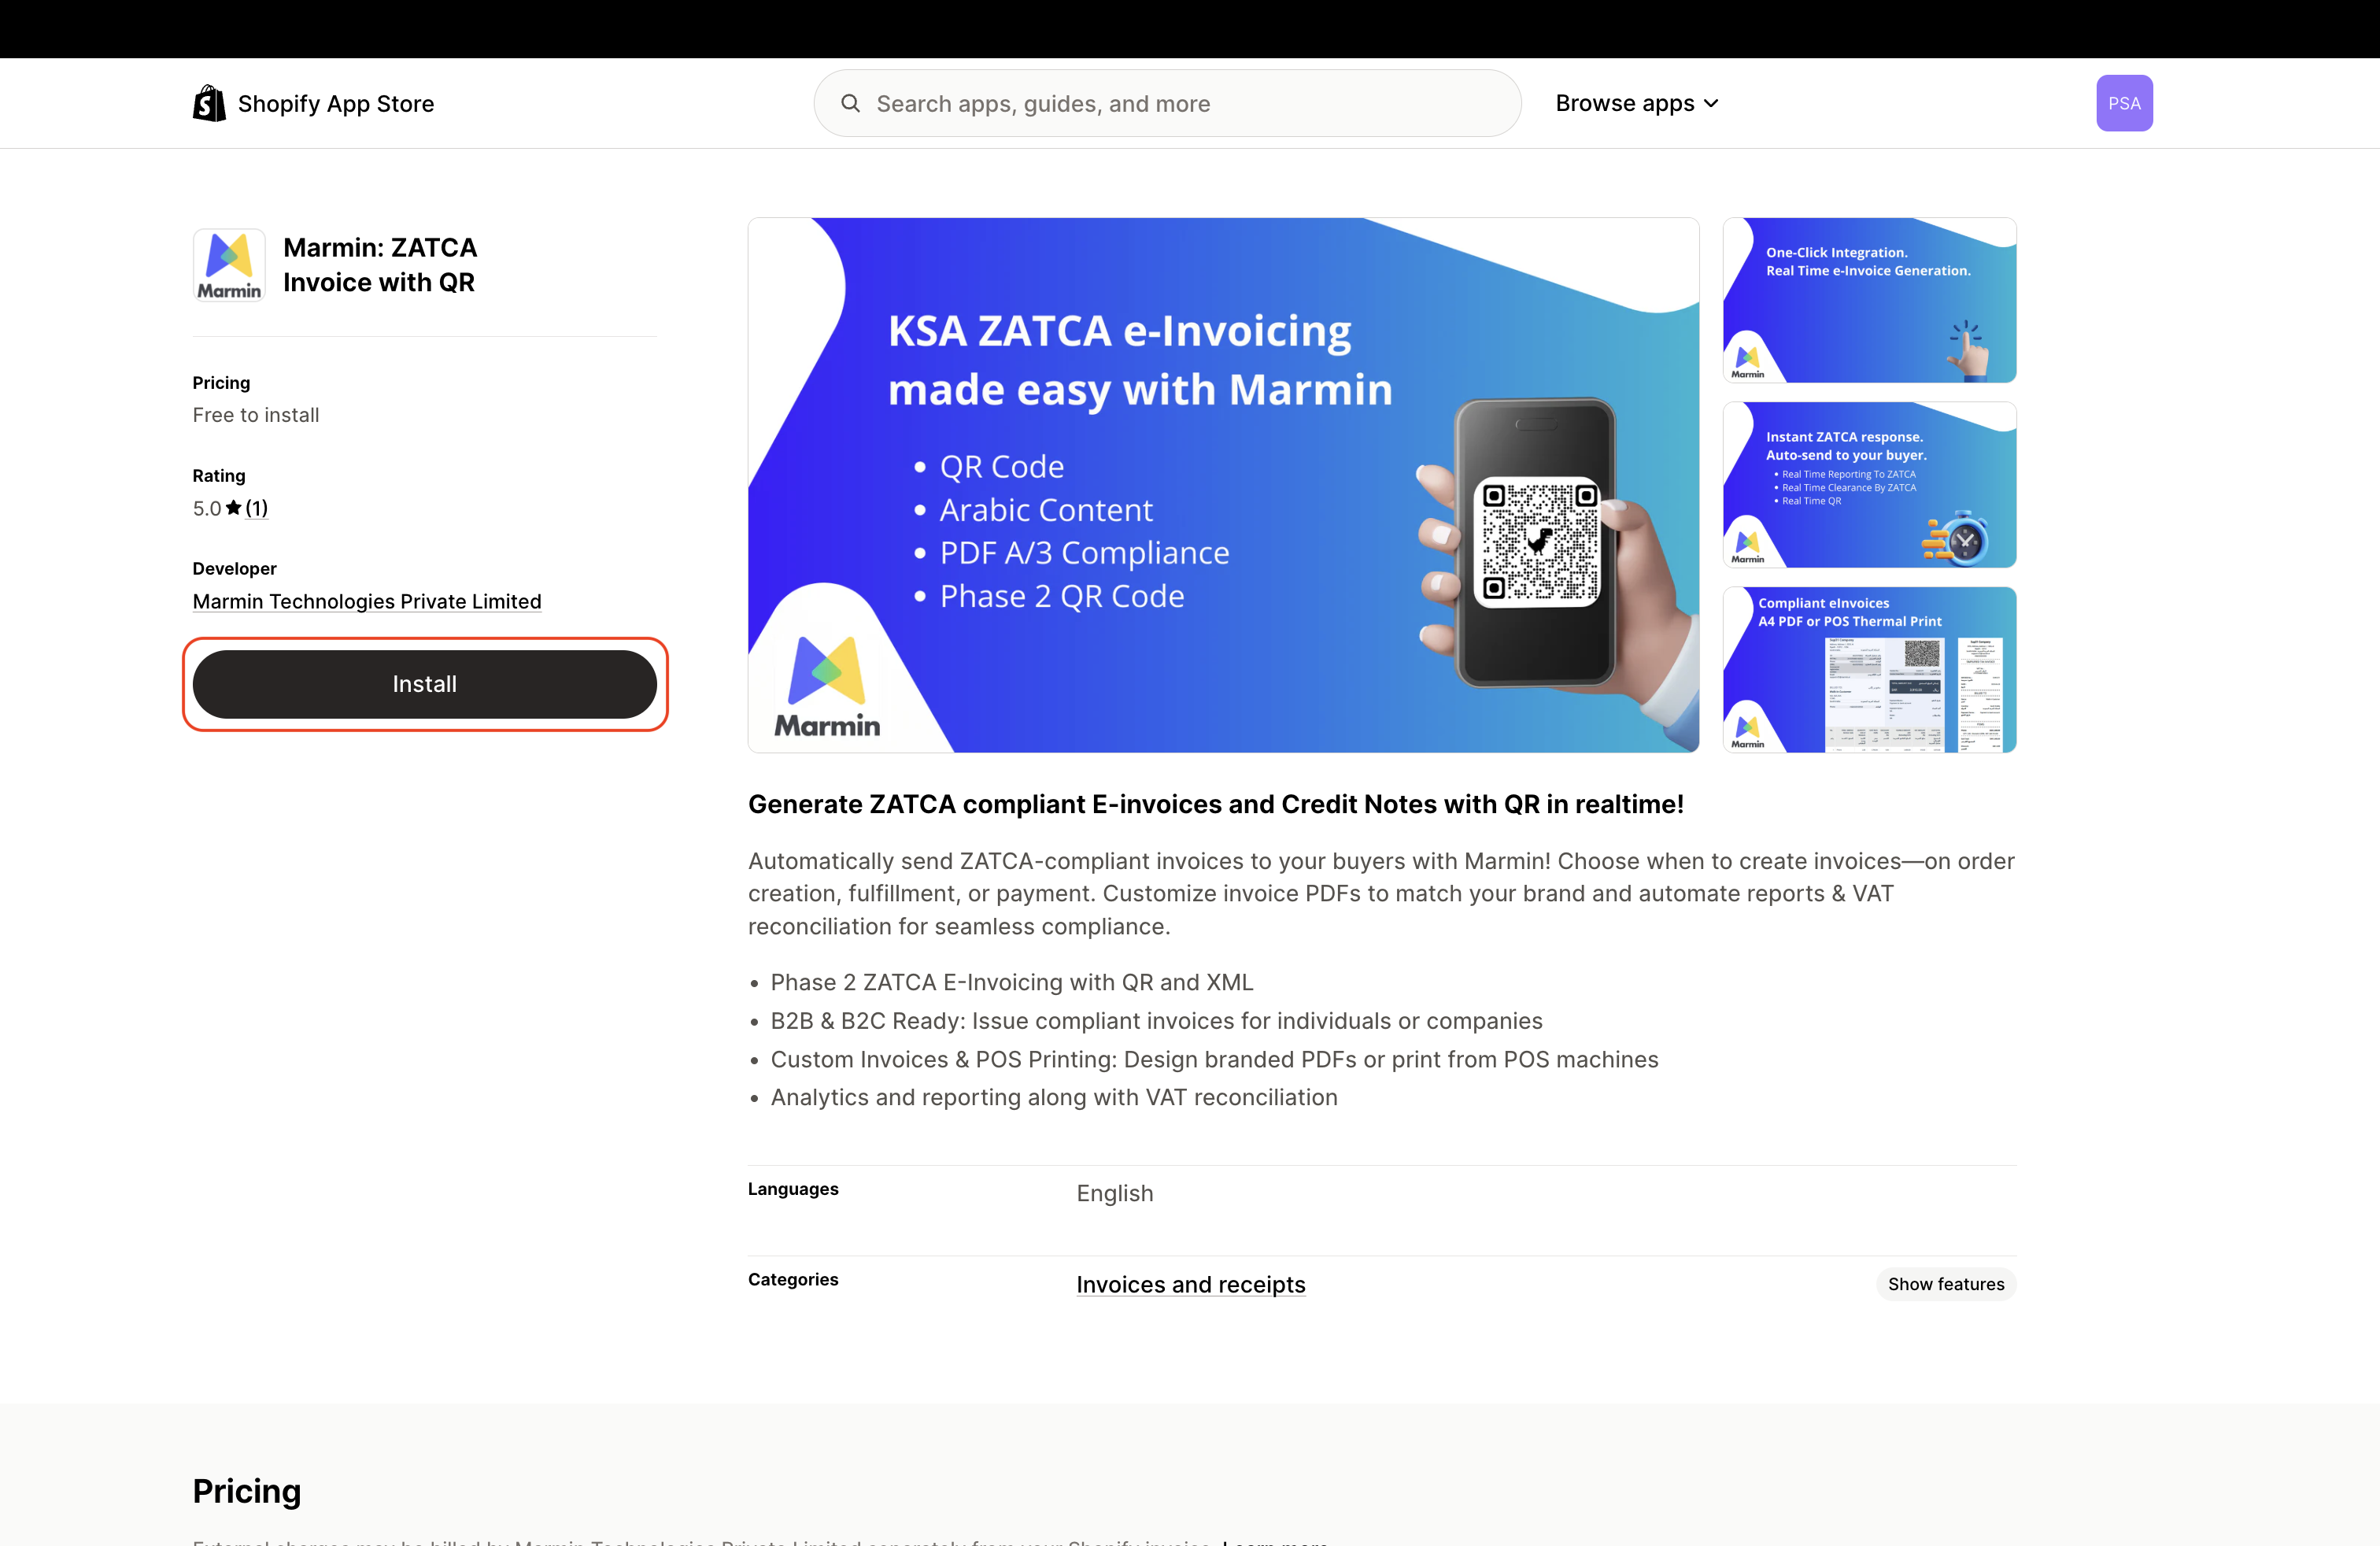
- Find the "Marmin: ZATCA Invoice with QR" app and click on it.
- Click the "Install" button to install Marmin app.
¶ Step 2: Choose When to Sync Invoices to Marmin
After you click "Install" from Shopify, you'll be redirected to a Marmin page where you will choose when to generate invoices. This is an important decision based on your business model, as different business types may need different triggers.

You have three options for when the sync to Marmin will occur:
- Order Creation: The invoice is generated as soon as a customer places an order.
- Order Payment: The invoice is generated when the order is paid.
Our recommendation is to select Order Creation, though you can select the option that best fits your business practices and click "Proceed.".
¶ Step 3: Complete Your Business Profile on Marmin
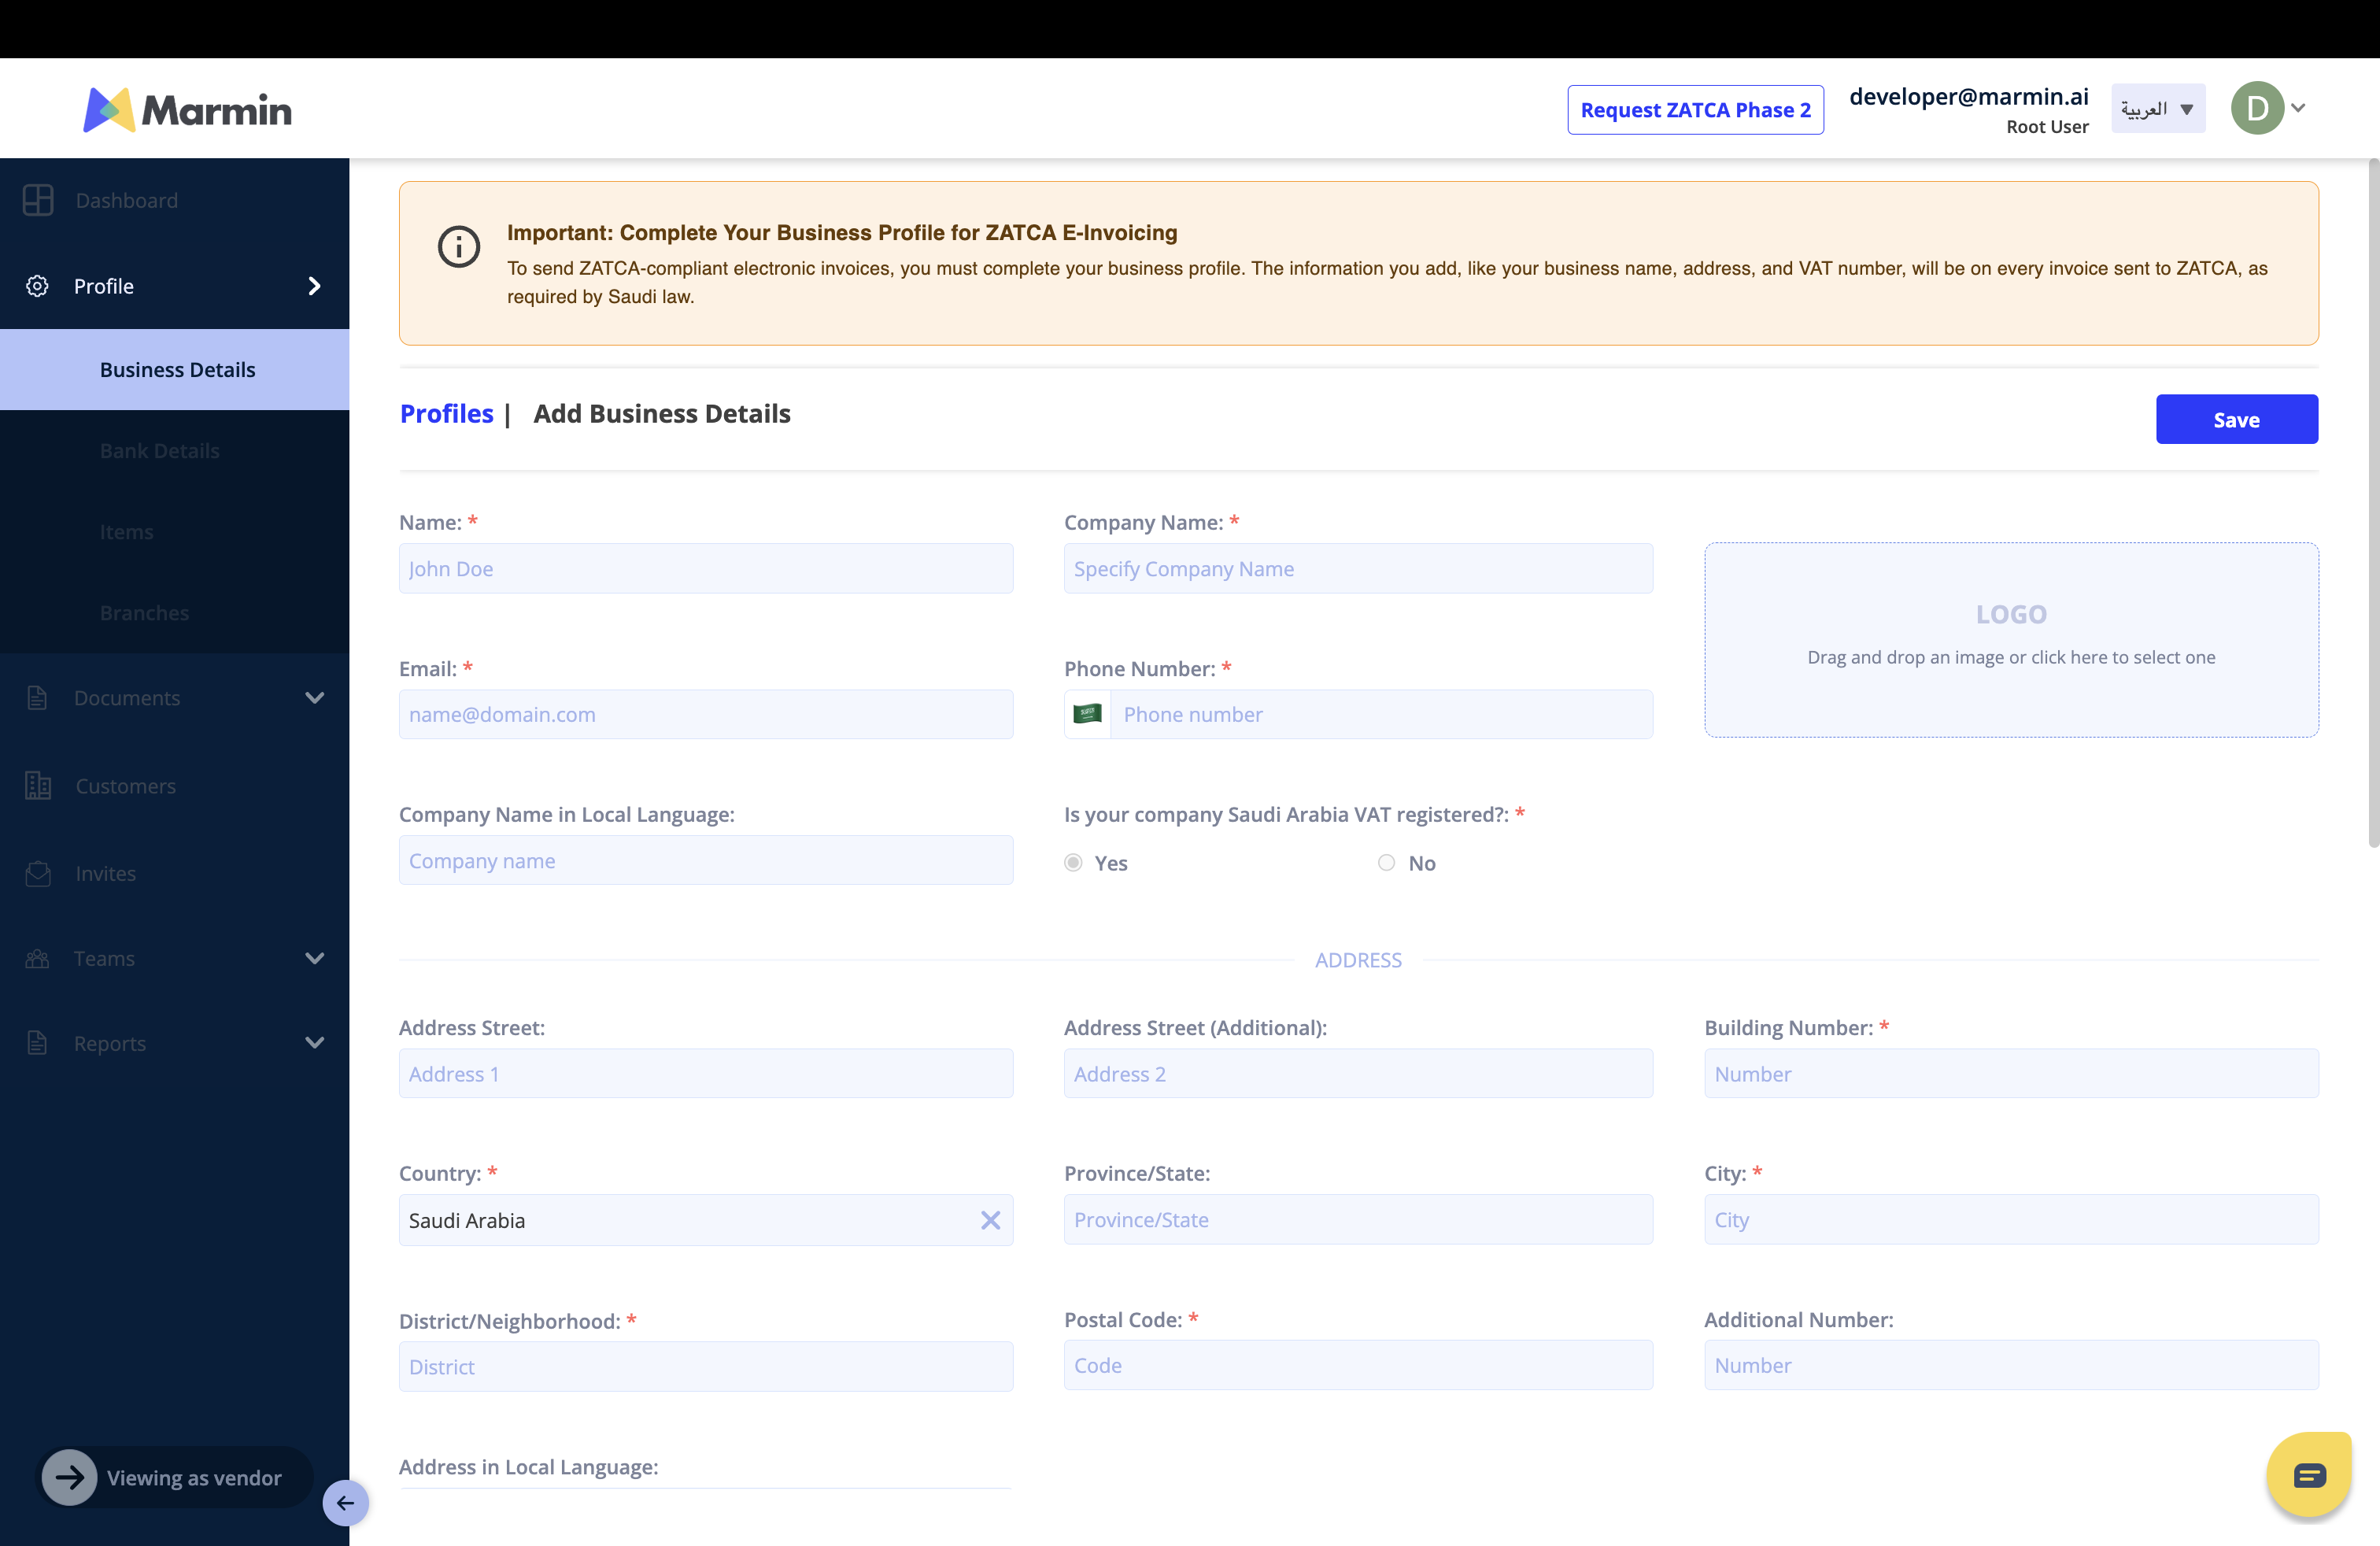
After clicking "Proceed," an account will be automatically created for you on the Marmin platform, and you will be logged in. You will land directly on the Business Profile screen, which you must complete to proceed with ZATCA e-invoicing and be compliant with ZATCA. This business profile is crucial because Marmin needs these details about your business to include them in every invoice or credit note generated from Shopify and sent to ZATCA.
Fill in the required information, including:
- Your name and company name.
- Your address.
- Your Saudi Arabia VAT number and business ID.
Once you have filled in all the details, click "Save."
¶ You're All Set!
On completing the business profile, you're ready to start invoicing from Shopify. Marmin works automatically in the background, so you can simply create an order on Shopify, and it will be synced to Marmin and automatically sent to ZATCA for approval.
¶ How Invoice Generation Works
Once everything is set up, Marmin works automatically in the background:
For Phase 1 accounts: When your chosen trigger event happens, an invoice is generated directly in Marmin and sent to your business.
For Phase 2 accounts:
- When your chosen trigger event happens, an invoice is created in Marmin
- Marmin sends it to ZATCA for approval
- Once ZATCA approves the invoice, it's automatically emailed to both you and your buyer
This automation makes ZATCA Phase 2 compliance much simpler than handling it manually.
¶ Need Help?
If you run into any issues or have questions during setup, our support team is ready to help! Contact us at support@marmin.ai.