¶ Bulk Upload: E-invoice and E-CN/DN Creation
¶ Overview
The Bulk Upload feature is a powerful tool designed to save you time by allowing you to upload, validate, and process multiple documents—such as Invoices, Credit Notes, and Debit Notes in bulk. This guide provides a step-by-step walkthrough of the entire process.
For invoices, CNs, and DNs, you can also bulk upload the documents ver easily from the respective listing pages.
¶ Getting Started: The Template
Before you begin, you will need the correct template for the type of document you wish to upload. Each document type has a specific Excel (.xlsx) template with required columns.
- To get the template: The option to download the latest template is provided within the bulk upload interface.
- Important: Always use the most recent version of the template available for download to avoid validation errors.
¶ Step-by-Step Guide to Bulk Upload
Follow these steps to upload your documents efficiently.
¶ Step 1: Select the "Bulk Upload" Option
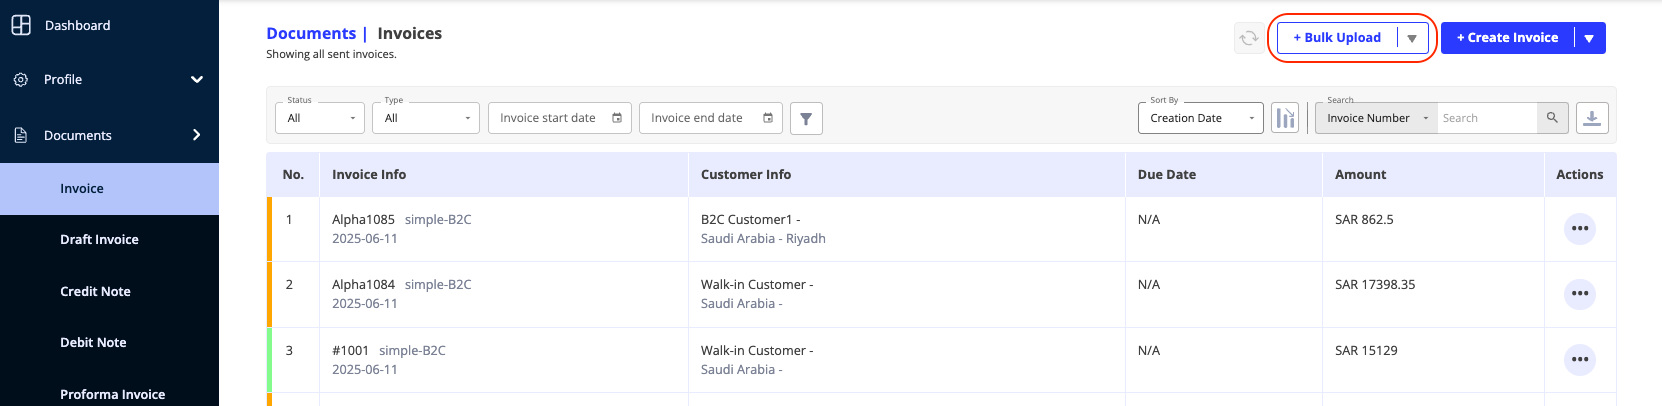
- Navigate to the main section for the document type you want to upload (e.g., from the main menu, go to Documents > Invoices).
- On the document listing page, click the Bulk Upload button.
¶ Step 2: Upload Your Completed File
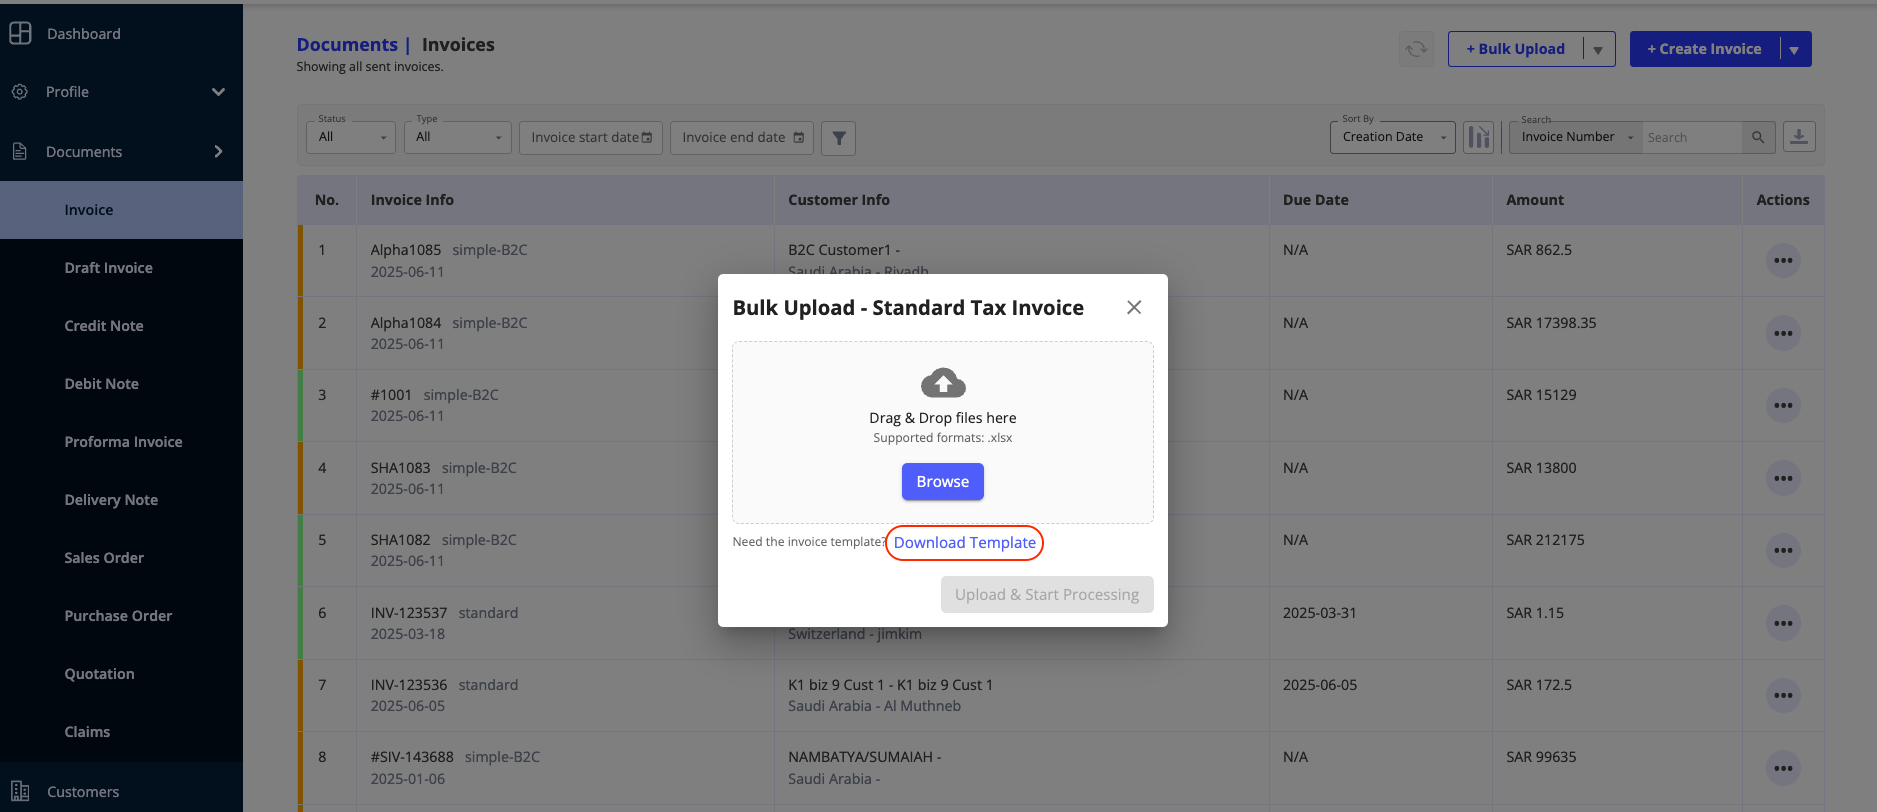
- After selecting "Bulk Upload," a pop-up window will appear.
- If you haven't already, click Download Template to get the latest
.xlsxfile. - Open the template and fill in your document details. Ensure all mandatory fields are completed accurately.
- Drag and drop your saved
.xlsxfile into the upload box, or click Browse to select the file from your computer. - Once the file is successfully uploaded, click the Upload & Start Processing button to proceed.

¶ Step 3: Validate Your Data
- Your uploaded data will now be displayed in a table format on the screen.
- Select the checkboxes for the rows (documents) you wish to validate. You can select all by checking the box in the header row.
- Click the Validate Selected Documents button.
- The system will check the data in each selected row. If any errors are found, they will be clearly described in the Error column for the corresponding row.
- Correcting Errors: You can edit the data directly in the table cells to fix any validation errors. There is no need to re-upload the entire file.

¶ Step 4: Create Your Documents
- After you have corrected all validation errors, ensure the relevant rows are still selected.
- Click the Create Document button at the top of the table.
- A progress summary will appear, showing the real-time status of each document being created. This summary will indicate how many documents were created successfully and how many failed.

¶ Step 5: Finalize and Review
- Once the processing is complete, an "Upload Complete" status box will appear.
- Click Proceed.
- If all documents were created successfully, you will be taken to the main document listing page, where you can see your newly created invoices, credit notes, or debit notes.
- If some documents failed, you will be returned to the validation screen. The table will now only show the rows that failed, allowing you to correct them and repeat the creation process (Step 4).
¶ Best Practices & Troubleshooting
- Use the Latest Template: Always download a fresh template to ensure you are using the correct format and fields.
- Check Data Formats: Ensure dates, currency, and other specific data types are formatted exactly as specified in the template's column headers (e.g.,
DD-MM-YYYY). - Process in Batches: For very large numbers of documents (e.g., over 500), consider splitting them into smaller files. This makes it easier to manage and correct any potential errors.
- Review Validation Errors Carefully: The error messages are specific and will guide you to the exact cell that needs fixing.
- Do Not Modify the Template Structure: Do not add, remove, or reorder columns in the Excel template, as this will cause the upload to fail.